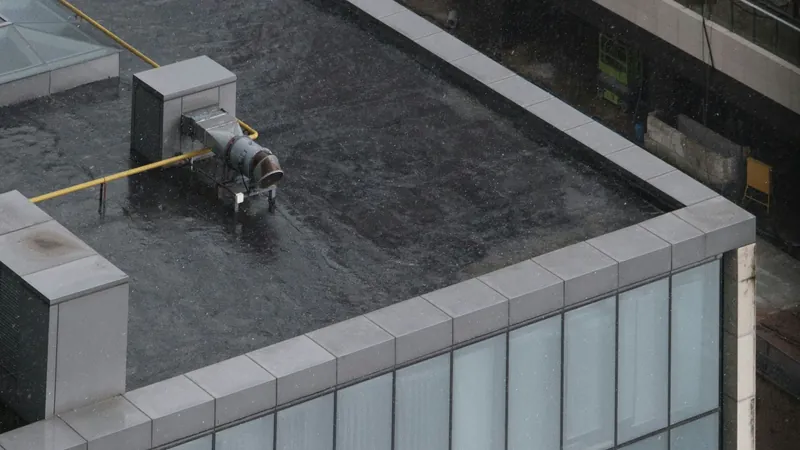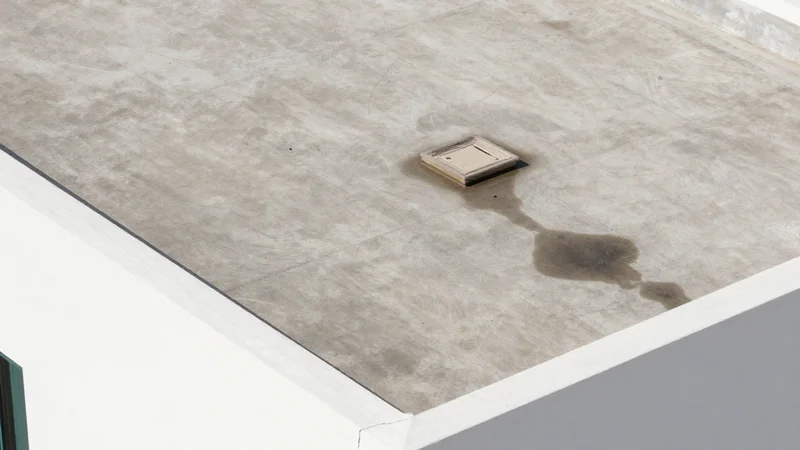
Most roof leaks in Qatar villas come from a few weak points rather than the open roof: blocked or badly sealed drains, cracked parapet and upstand junctions, unsealed pipe and AC penetrations, and membranes that have aged in the sun. A local repair can work when the rest of the membrane is sound. When the membrane is brittle, blistered or failing in several places, re-waterproofing the roof is usually the lasting fix.
Rain in Qatar is infrequent, which is exactly why roof problems stay hidden. A roof can sit dry for months, then one heavy winter downpour shows every weakness at once: a brown stain on the majlis ceiling, bubbling paint near a light fitting, or water dripping beside the AC grille.
This guide explains why flat villa roofs leak in our climate, what you can safely check yourself, how a professional traces the source, and how to decide between a repair and a full re-waterproofing job.
Why roofs in Qatar leak, even with little rain
Qatar's long hot season runs roughly from June to mid-September, and most of the year's rain falls in short bursts between December and February. That pattern is hard on waterproofing in three ways.
Heat and UV age the membrane
A flat roof in full summer sun gets far hotter than the air temperature. Months of UV exposure dry out bitumen-based and some liquid membranes, so they lose flexibility, crack at the surface and blister where moisture or air is trapped underneath.
Daily expansion and contraction stress the joints
Concrete, screed and parapets expand in the afternoon heat and contract at night. Over years, this movement opens hairline cracks at the points where different elements meet: the roof slab and the parapet, the slab and a stair-room wall, or around a drain body. Those junctions are where most leaks begin.
Dust and sand block drainage
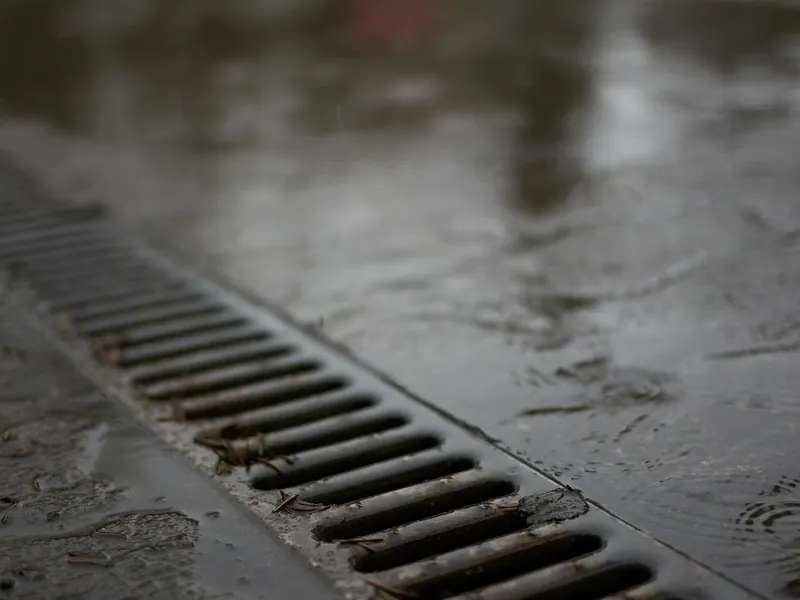
Wind-blown sand settles on every roof. If it collects in drain outlets and gutters, the first serious rain cannot get away. Water then sits on the roof, finds the weakest seam and works its way into the slab.
Rooftop equipment adds penetrations
AC condensers, water tanks, satellite dishes and solar frames are all fixed through or onto the roof. Every bolt, pipe and cable entry needs its own seal. When equipment is added or replaced years after the roof was waterproofed, those seals are often missed or done with a quick bead of sealant that cracks within a season.
The most common leak sources
When a leaking villa roof is inspected, the cause is usually at a detail rather than in the middle of the slab. The usual suspects:
- Roof drains. A drain that is blocked, set too high, or poorly bonded to the membrane lets water collect and seep around the drain body.
- Parapet and upstand junctions. The waterproofing should turn up the parapet wall and be protected at the top. Cracks here, or a membrane that stops short, let water run behind it.
- Pipe, cable and AC penetrations. Each needs a proper collar or flashing, not just sealant.
- Aged or damaged membrane. Blisters, splits, lifted laps and worn protective layers allow water through the open roof.
- Poor falls. If the screed does not slope toward the drains, water ponds in low spots and soaks in slowly.
- Damage from foot traffic and maintenance. Heavy equipment dragged across the roof, or tools dropped during AC servicing, can puncture a membrane that was otherwise fine.
Not every wet ceiling is a roof problem. In a two-storey villa, a stain on a ground-floor ceiling is more often a bathroom waterproofing or plumbing issue from the floor above. Air-conditioning condensate lines that leak or block can also drip into ceilings. That is why the source needs to be confirmed before anyone quotes for roof work.
What you can check yourself (safely)
Only go onto the roof if there is safe access, a parapet at a protective height, and dry conditions. If any of that is in doubt, leave it to a professional.
- Look at the drains: are the gratings clear of sand, leaves and debris?
- After rain, note where water stands and how long it stays. Ponding that lasts more than a day or two points to blocked drains or poor falls.
- Check the parapet corners and the base of walls for visible cracks or a membrane edge that has lifted.
- Look around AC stands, pipes and tank bases for cracked sealant or open gaps.
- Look for blisters, splits, peeling or a chalky, crazed surface on the membrane.
- Inside, photograph every stain with a date. Note whether it appears only after rain, or also when the AC is running or bathrooms are used.
Clearing sand from drains is reasonable routine maintenance. Avoid sealing cracks with general-purpose silicone or roof paint: it rarely bonds well to a dusty, aged membrane, and it can hide the problem from the person who later needs to find it.
How a professional finds the real source
A good inspection is a process of elimination. The aim is to find where water is entering, not just where it shows inside, because water can travel along the slab before it drips.
- Interior survey. Map the stains, check with a moisture meter, and note what sits above each one: roof, bathroom, AC unit or tank.
- Roof survey. Inspect drains, falls, parapets, penetrations and the general membrane condition, and photograph defects.
- Rule out plumbing and AC. Check tank connections, roof pipework and condensate lines, which often run across or through the roof.
- Targeted water testing where needed: wetting one area at a time, such as a drain or a parapet section, to see which one triggers the leak inside.
- Core or opening-up in limited cases, to see whether there is trapped water under the membrane or a failed layer underneath.
The outcome should be a short, plain explanation: where the water is getting in, why, and what the realistic options are, with photos.
Repair or re-waterproof? How to decide
This is the decision that matters most for both cost and peace of mind.
| Roof condition | Usually suitable approach |
|---|---|
| Membrane flexible and well bonded; one or two defects at drains, penetrations or a parapet corner | Local repair of those details using a compatible system, plus drain cleaning |
| Membrane aged but intact; protective layer worn | Repair details, then a compatible protective or UV-resistant top coat if the manufacturer allows it |
| Brittle, cracked or blistered membrane in many areas; repeated leaks after earlier repairs | Remove loose material and re-waterproof the roof as a system |
| Water trapped under the membrane, or ponding caused by poor falls | Re-waterproofing, often with correction of the screed falls |
Patching a roof that has reached the end of its life tends to move the leak rather than stop it. On the other hand, replacing a sound membrane because of one badly sealed drain is money spent for nothing. An honest inspection should tell you which situation you are in.
What re-waterproofing involves
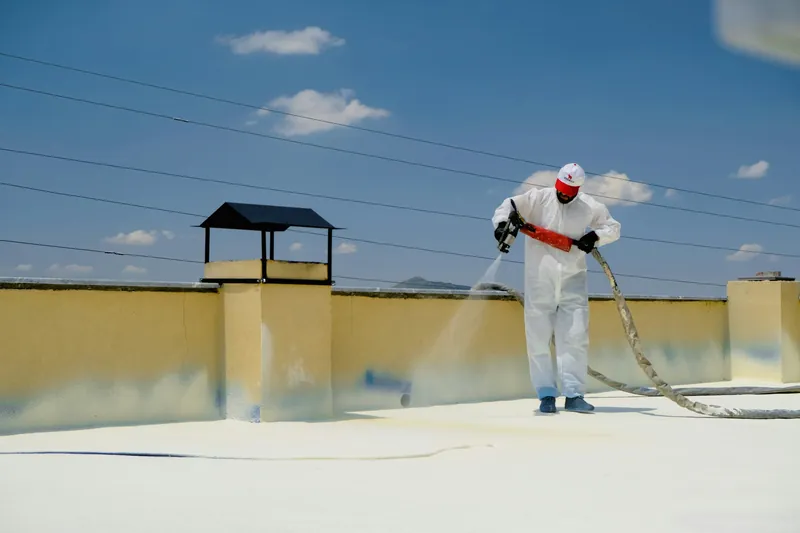
The exact method depends on the existing roof and the system chosen, but a properly planned job generally follows these steps:
- Clear and protect. Move what can be moved, protect AC units and tanks, and agree how equipment that cannot be moved will be handled.
- Remove failed material. Loose, blistered or delaminated layers come off. Sound layers may stay if the new system is compatible with them.
- Repair the substrate. Cracks are treated, and low areas or poor falls are corrected so water reaches the drains.
- Prepare details first. Drains, parapet corners, upstands and every penetration are reinforced, often with fabric or mesh embedded in the membrane.
- Prime and apply the membrane at the thickness and number of coats the manufacturer specifies, allowing the stated curing time between coats.
- Test. Where the roof design allows, a controlled flood or water test checks the work before any protection layer goes on.
- Protect. A protective screed, tiles or a UV-resistant top coat, depending on the system and whether the roof is walked on.
Timing matters. Most liquid systems have temperature and humidity limits for application, so contractors often plan roof work for the cooler months or for early-morning hours in summer. The best time to deal with a roof you already suspect is after the summer heat and before the winter rains.
Choosing the system: questions, not brand names
Several membrane types are used on Qatar roofs, including bituminous sheet membranes, liquid-applied polyurethane or acrylic systems, and cementitious coatings for certain areas. Each has its place. Rather than choosing by brand, ask:
- Is the system rated for exposed UV, or does it need a protective layer above it?
- Is it compatible with the existing roof material, or must everything come off?
- Can it handle the foot traffic your roof gets from AC servicing and tank maintenance?
- What thickness and number of coats does the manufacturer require, and how will this be checked?
- What does the written warranty cover, and what voids it, such as later drilling or new equipment?
Qatar's construction standards (QCS 2014) set minimum requirements for materials and workmanship on construction projects. For a repair on an existing villa, the practical test is whether the contractor follows the manufacturer's system data sheet and can show you each stage of the work.
What affects the cost
Every roof is quoted after inspection, because a few factors change the scope a great deal:
- Roof area, measured on site, plus the length of parapets and upstands to be treated
- Whether the old membrane can stay or must be removed and disposed of
- The amount of crack repair and whether the falls need correcting
- Number of drains, penetrations, AC stands and tanks to detail around
- The system chosen and the protection layer above it
- Access, working hours and whether equipment must be moved or temporarily disconnected
- Any internal repairs needed afterwards, such as ceiling plaster and paint
Be cautious of a price given over the phone for "the whole roof" before anyone has been up there. It usually means the details, where leaks actually start, have not been considered.
Common mistakes to avoid
- Painting over cracks with roof paint and calling it waterproofing
- Repairing the ceiling inside before the roof leak is fixed
- Adding new AC units or a tank without re-sealing the fixings
- Ignoring ponding because "it only rains a few days a year"
- Applying a new membrane over a wet or dusty surface
- Accepting a warranty without reading what it excludes
Questions to ask a contractor
- Where exactly do you think the water is getting in, and how did you confirm it?
- Do you recommend a repair or full re-waterproofing, and why?
- Which system will you use, and can I see its data sheet?
- How will you treat the drains, parapets and every penetration?
- Will the work be water-tested before it is covered?
- What does the written warranty cover, and for how long?
- How will you protect my AC units, tanks and the inside of the house during the work?
Frequently asked questions
Why does my roof only leak during heavy rain?
Light rain evaporates or drains before it reaches a weak point. Heavy rain overwhelms blocked drains, ponds in low areas and rises above small cracks at parapets and penetrations, so the leak only shows when a lot of water sits on the roof.
Can I just seal the cracks myself?
Clearing sand from drains is safe routine maintenance. Sealing cracks with general-purpose products rarely lasts on a hot, dusty roof and can make the real source harder to find. It is better to have the source confirmed first.
Is the stain on my ground-floor ceiling a roof leak?
In a two-storey villa, probably not. A ground-floor ceiling stain is more often caused by a bathroom, kitchen or pipe on the floor above. The source needs checking before any roof work is quoted.
When is the best time to re-waterproof a roof in Qatar?
Ideally in the cooler months, before the winter rain. Many systems have temperature limits for application, so summer work is usually planned for early mornings, which can make the job take longer.
Does a reflective roof coating stop leaks?
Not on its own. Reflective coatings reduce heat on the roof surface, which helps protect the membrane underneath, but they are not a substitute for a proper waterproofing system and correctly sealed details.
Next steps
If you are seeing stains, damp or drips after rain, photograph them, clear the drains if you can do so safely, and have the roof inspected before the next rainy spell. A clear diagnosis is what separates a small detail repair from a full re-waterproofing job, and it is what makes the quotation meaningful. Our waterproofing service covers roofs, terraces, bathrooms and tanks, and our building maintenance team handles the drain clearing and small repairs that keep a roof working between bigger jobs.
For wet areas inside the house, read our guide to bathroom waterproofing before tiling.
To keep the roof on your list every year, use our year-round villa maintenance calendar.
If the leak turns out to come from a bathroom on the floor above, our step-by-step bathroom renovation planning guide explains how wet areas should be rebuilt.
Sources and further reading
- Qatar Meteorology Department climate summary, as reported by The Peninsula: thepeninsulaqatar.com
- Qatar Construction Specifications (QCS 2014) overview, Gulf Times: gulf-times.com
This guide gives general information for property owners in Qatar. Every building is different, so the right solution depends on an on-site inspection. Regulations change; confirm current requirements with the relevant authority or an accredited consultant. Photos credited to Unsplash are stock images, and images marked illustrative are AI-generated. Neither shows an Ample Trading project.