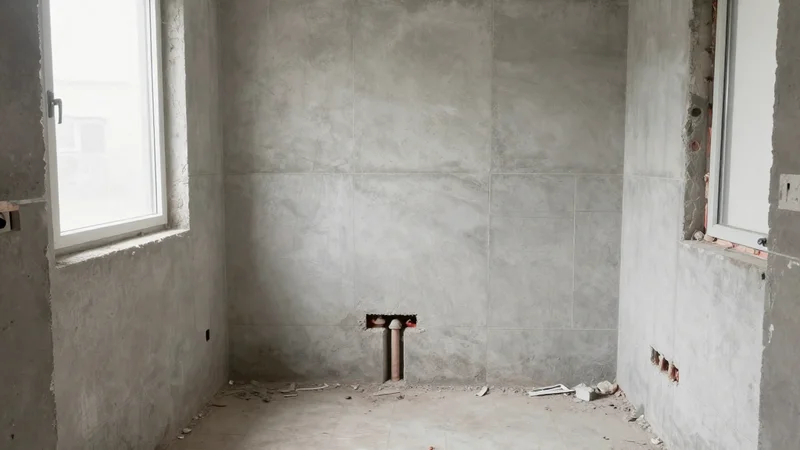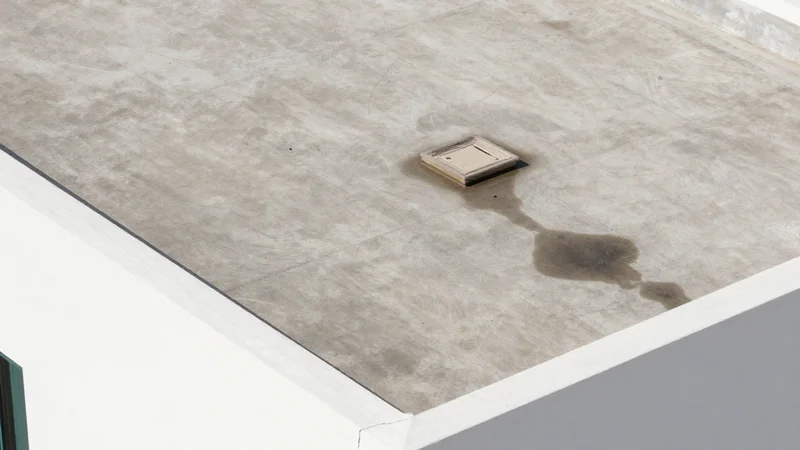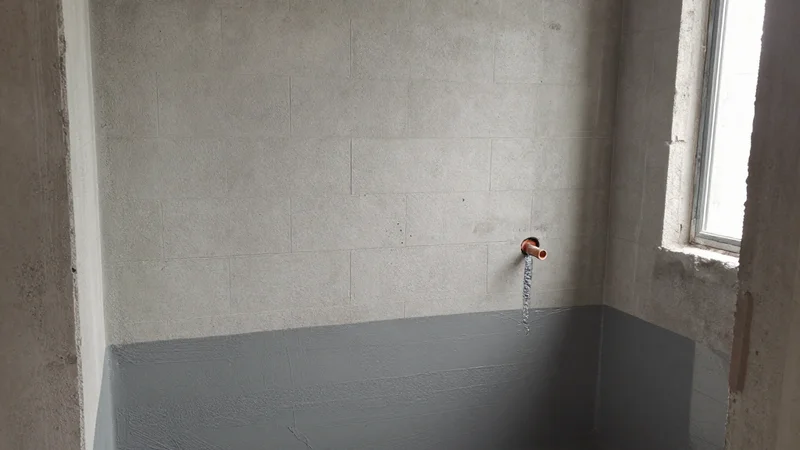
In a bathroom, the tiles and grout are not what keeps water out of the slab. The waterproofing membrane underneath does. Good work covers the whole floor, turns up every wall, goes much higher in the shower, is reinforced at corners, drains and pipe outlets, is applied at the specified thickness and curing time, and is flood-tested before a single tile goes on.
Most bathroom leaks in Qatar villas and apartments do not come from broken tiles. They come from a membrane that was missing, too thin, stopped short, or never sealed around the drain. Because it all disappears under tiles within a day or two, this is the stage worth understanding before the job starts.
Why tiles and grout are not waterproof
Cement grout is porous. Even well-fitted tiles have joints that let water through slowly, and tiles crack or debond over time. Water that gets past them soaks into the screed and, without a membrane, reaches the concrete slab. In a first-floor bathroom that usually shows up as a stain on the ceiling below. In apartments, it can become your neighbour's problem first.
A waterproofing membrane is a continuous layer, usually liquid-applied, that sits between the screed and the tile adhesive. Its job is to carry any water that gets through the tiles to the drain instead of into the structure.
Where the membrane should go
- The whole bathroom floor, not just the shower area. Water travels across floors from basins, toilets and mopping.
- Up every wall at the edges, as an upstand, so water sitting on the floor cannot run under the wall finish.
- Higher in the shower zone. Shower walls take direct spray, so the membrane goes well above the shower head height, often to full height, depending on the system and design.
- Behind and around a bath, including the wall above the bath rim.
- Across the bathroom doorway threshold, so water cannot escape under the door into the corridor or bedroom.
The exact heights depend on the product data sheet and the project specification, so ask your contractor to state them in writing before work starts.
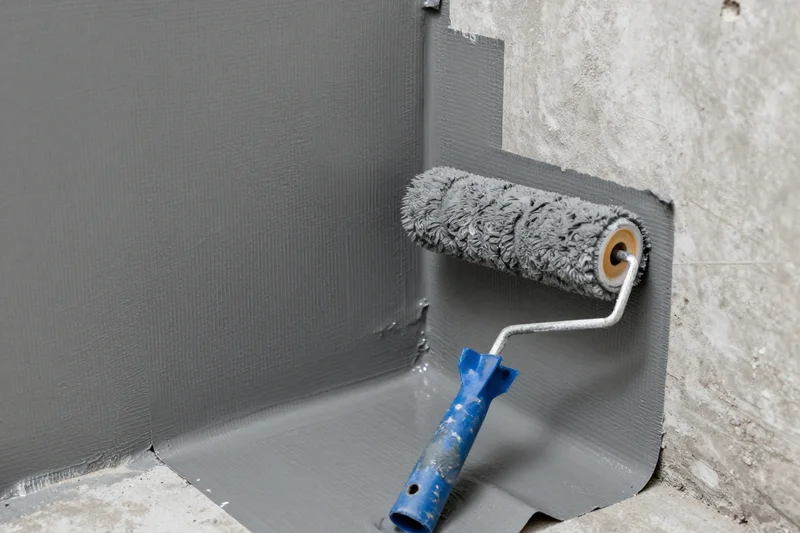
The details that decide success
Corners and wall-floor joints
Buildings move slightly with heat and settlement, and corners are where that movement concentrates. Good practice is to embed a reinforcing tape or fabric into the membrane at every internal corner and wall-floor joint so it can flex without cracking.
The floor drain
The drain is the single most common failure point. The membrane must bond to the drain body or a proper drain flange, not just stop at its edge. Drains designed for wet-area waterproofing have a flange or clamping ring for exactly this reason.
Pipe outlets
Every mixer, shower arm and supply pipe that passes through the membrane needs a sealing collar or puddle flange. A bead of silicone around a pipe is not a waterproof detail.
Changes of material
Where the membrane crosses from concrete to blockwork, or from render to gypsum board, the substrate moves differently. These lines also deserve reinforcement.
The process, step by step
- Prepare the substrate. The screed with falls to the drain must be finished and cured. Surfaces are clean, sound and free of dust, oil and loose material. Cracks are treated first.
- Prime if the system calls for it. Primers help the membrane bond and control suction on porous surfaces.
- Treat details first: corners, drain, pipe collars and joints, with reinforcement embedded.
- Apply the first coat over the full area at the specified rate.
- Allow curing as the manufacturer states. In Qatar's heat some products skin quickly but still need time to cure through.
- Apply the second coat, usually at right angles to the first, to avoid thin spots. Many systems use contrasting colours for each coat so coverage is visible.
- Cure fully before testing.
- Flood test. Plug the drain, fill the floor with water to a set depth and leave it for the agreed period, checking the room below and the walls for any dampness.
- Protect the membrane until tiling. Ladders, tools and foot traffic can puncture it.
Membrane types in brief
Wet areas in Qatar homes are commonly waterproofed with one of these:
| Type | Typical use | Points to note |
|---|---|---|
| Cementitious (flexible, two-component) | Bathroom floors and walls under tiles | Bonds well to cement substrates; needs correct thickness and curing |
| Liquid polymer (acrylic or polyurethane) | Floors, walls and detailing | Flexible; watch compatibility with the tile adhesive |
| Sheet membranes | Specific systems and shower trays | Laps and seams must be sealed as the system requires |
All three can work. What matters is that the membrane, primer, reinforcement, drain and tile adhesive belong to a compatible system and are applied as the data sheet says.
Qatar-specific points
- Heat and curing. High temperatures speed up surface drying. Applying in very hot conditions or on a hot substrate can cause pinholes or poor bonding, so timing and shading matter, especially in summer.
- Apartment buildings. A leak into the flat below can involve building management and neighbours. Building rules may also require proof of waterproofing or set working hours for testing.
- Water tanks above bathrooms. In some villas, roof tanks or pipework sit above or near wet areas. Waterproofing the bathroom does not fix a leaking tank connection, so both should be checked.
Common mistakes
- Waterproofing only the shower tray area and leaving the rest of the floor bare
- No upstand on the walls, or an upstand that is too low
- Membrane not bonded to the drain
- Silicone used around pipes instead of collars
- One thick coat instead of two controlled coats
- Tiling before the membrane has cured
- Skipping the flood test to save a day
Questions to ask your contractor
- Which waterproofing system will you use, and can I see its data sheet?
- How high will it go on the walls, and in the shower?
- How will you treat the corners, drain and every pipe outlet?
- How many coats, and how will thickness be checked?
- How long will you flood test, and can I see it?
- Is the tile adhesive compatible with the membrane?
Frequently asked questions
How long should a bathroom flood test last?
It depends on the specification, but a test is usually left long enough for any slow leak to show in the room below or on surrounding walls. Agree the duration with your contractor before work starts and check the space below during the test.
Can waterproofing be applied over old tiles?
Some systems allow it if the old tiles are firmly bonded and properly prepared, but in a renovation it is usually better to remove them so the substrate, falls and drain connection can be checked and corrected.
Why does my ceiling leak when the bathroom above looks fine?
Water can pass through grout and travel under tiles to a failed membrane, drain or pipe outlet without any visible sign upstairs. The source needs to be traced before tiles are removed.
Do I need waterproofing outside the shower?
Yes. Basins, toilets, bath edges and floor cleaning all put water on the floor, so the whole bathroom floor and a wall upstand should be waterproofed.
Next steps
If you are renovating, make waterproofing a named, inspected stage in your contract, with photos and a flood test before tiling. Our waterproofing service covers bathrooms, kitchens, roofs and tanks, and our bathroom renovation team handles the full sequence from strip-out to handover. For the wider plan, see our step-by-step bathroom renovation guide, and if water is already reaching a ceiling, our guide to roof and ceiling leaks explains how sources are traced.
Sources and further reading
- Qatar Construction Specifications (QCS 2014) overview, Gulf Times: gulf-times.com
This guide gives general information for property owners in Qatar. Every building is different, so the right solution depends on an on-site inspection. Regulations change; confirm current requirements with the relevant authority or an accredited consultant. Photos credited to Unsplash are stock images, and images marked illustrative are AI-generated. Neither shows an Ample Trading project.